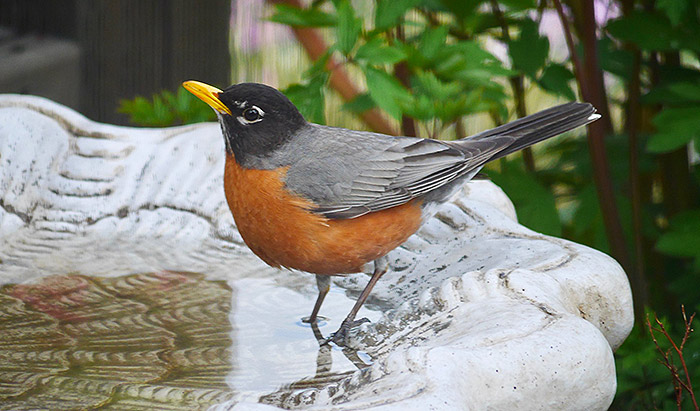
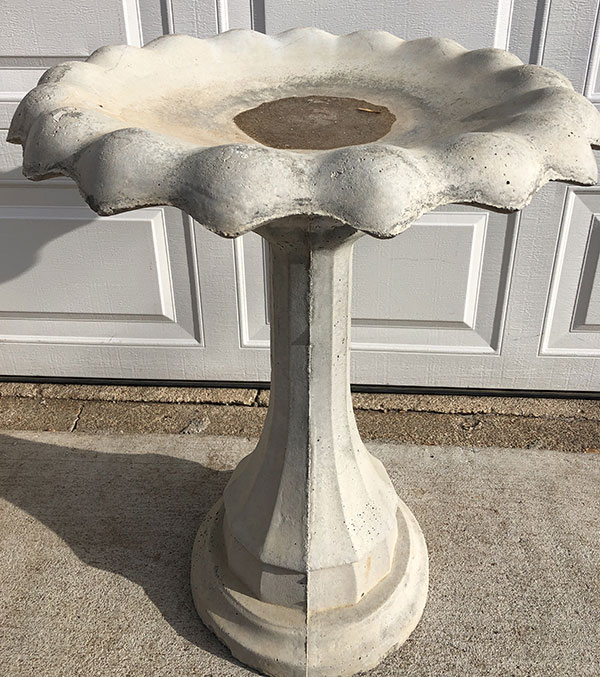
Imagine if you will. It is the weekend and you are browsing through garage sales as you usually do. Then you spot an antique concrete birdbath that you think would be perfect for your yard. However, you are worried about the extent of the damage that the item might have gotten all these years.
You need to know how to seal a concrete birdbath if you want to pull the trigger on the antique one you have been wanting so badly. The good news is that it is not that difficult and you can probably finish the project during the weekend if the birdbath is not damaged.
This article will teach you the basics of sealing concrete so that your new-old birdbath will be able to hold water.
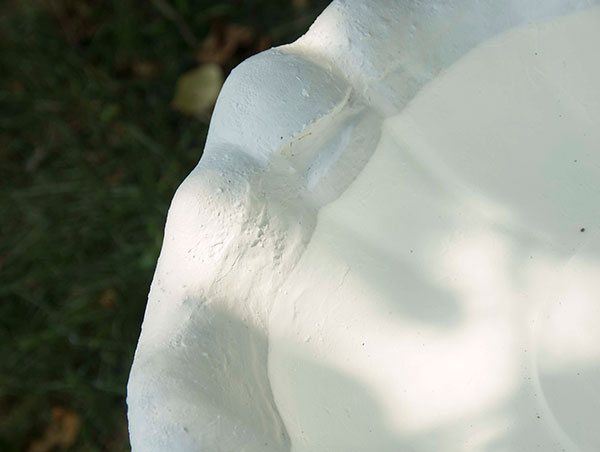
Take note! Before you learn how to seal a cement bird bath, you will need to clean and repair it first. You have to provide the concrete sealer with the best surface that it can adhere to so it can do its job properly.
What to prepare:
- Detergent – You will be using this to give the bird bath a good cleaning, so you use a non-toxic yet deep-cleaning detergent.
- Stiff plastic brush
- Garden hose
- Large sheet of cardboard or a tarp
- Silicone sealant/caulk and caulking gun
- Concrete sealer – Since you will be sealing a concrete bird bath, you will need a non-toxic concrete sealer or a non-toxic polyurethane sealer.
- A wide paintbrush
Detailed steps:
Step 1 – Rinse the birdbath thoroughly
Carefully place the birdbath on your driveway or anywhere near a storm drain. Grab your garden hose and rinse the birdbath to remove as much of the loose dirt and grime as you can.
If you have a power washer, you can use that to remove caked-on dirt on the surface of the concrete more effectively. Be careful not to use too much water pressure so you do not damage the concrete.
Step 2 – Use the detergent and scrub the surface
After rinsing, put some detergent inside the bird bath and scrub it thoroughly using the stiff plastic brush. Make sure that you get all the dirt on the surface of the basin. This will make it easier for you to spot any cracks that you may need to repair later.
If you do not have any non-toxic detergent, you need to rinse the bird bath thoroughly. Make sure that there will not be any residue left on the surface of the concrete. Let the bird bath dry completely under the sun before going to the next step. You can also take the birdbath inside your garage and let it dry for a day or two.
Step 3 – Repairing cracks (if there are any)
If you found some rather large cracks in the birdbath basin, you have to address them before you continue sealing the concrete. Load the caulking gun with silicone caulk. Hold the tip of the caulking gun tightly against the crack and then proceed to leave a bead (1/8” to ½” wide) along the entire length of the crack.
Wet a finger of your gloved hand and smooth down the silicone to level it. This will also force the caulk deep inside the crack, preventing it from getting bigger. Wait for the caulk to dry and cure completely before proceeding to the next step. This could take one more day to dry.
Step 4 – Apply the concrete sealant
Once your birdbath is completely dry and the silicone caulk is cured, you can start with the sealing process. Pour some sealant into a small plastic container. This will make it easier for you to apply it to the birdbath.
Dip the wide paintbrush in the sealant and proceed to apply it all over the basin. Make sure that the entire surface receives an even coating of sealant. If you want to add another coat, wait for the first one to dry before brushing the next.
Step 5 – Test the birdbath
Before you move the birdbath to its intended spot, you should test it out first to make sure that you properly sealed the basin. Fill the birdbath with water and wait for at least a couple of hours to a day.
If the water level remains unchanged, then you are sure that you have done the job right. You can now drain the water and place the birdbath in its intended place.
Do You Need to Reseal Concrete Birdbaths?
Ideally, you need to re-seal your concrete birdbath before five years have passed. Non-toxic concrete sealers tend to deteriorate quickly compared to the ones used for driveways, so you will have to reapply much sooner.
What happens if you do not reapply the concrete sealer? Well, if you let the sealer deteriorate, water will be able to seep into the concrete as it is quite porous. Not only will the water weaken the concrete but it will also cause the rebars inside the basin to corrode.
This means you will be essentially destroying the birdbath if you neglect to reapply the concrete sealer when you need to.
Conclusion
If you got your hands on an old concrete birdbath, then the odds are that you need to apply concrete sealant all over the basin. Don’t worry. Now that you learned how to seal a concrete birdbath, you can bring that antique back to its former glory.
You do not need that much skill when sealing concrete. However, you will need patience as the process takes quite a long time. If you can manage to wait it out, you will be rewarded with a perfectly good and beautiful concrete birdbath that you can use for years.