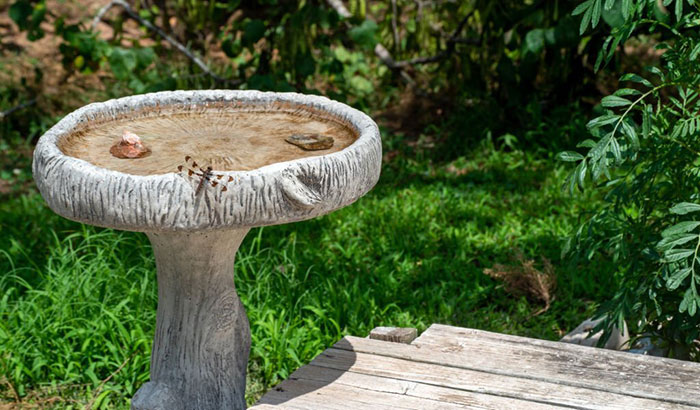
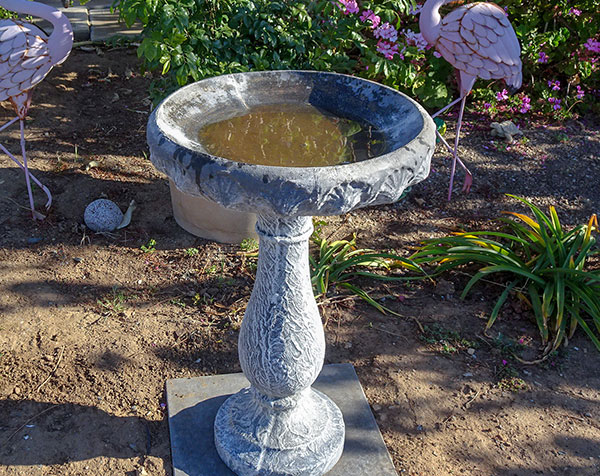
If you have a new birdbath, then you might be extremely frustrated because you cannot seem to make it stop wobbling. You may have thought that you can just place a birdbath anywhere you want and it would sit there perfectly. However, you have been positioning your birdbath in different places in your yard and it still looks crooked and wobbles.
If you are at the end of your rope, do not worry as you can easily remedy this problem, quite easily too. You do not need to hire someone to help you. You can do it yourself, and you probably already have all the tools you need for the job. This article will teach you the proper way how to stabilize your birdbath so it will finally look right.
Using a Concrete Block
This is the easiest solution when trying to learn how to secure a bird bath. The concrete block will provide the birdbath with a stable and easily leveled base. The gravel will provide the concrete blocks with a solid, yet adjustable base, and it will also cover up the concrete block to make it more presentable.
What to prepare:
- Gravel – You will need enough gravel to cover the hole that you will be digging later
- Concrete blocks – Depending on the size of your birdbath, you may need to use 1 or 2 concrete blocks
- Shovel
- Work gloves
- Carpenter’s level
Detailed steps:
Step 1 – Measure the base
Dig a hole where you will be placing the birdbath. You will also need to take measurements to ensure that the installation looks right. Take your tape measure and measure the diameter of the birdbath’s base. Add 2 inches to the measurement that you got and that is the size of the hole that you will need to drink.
You should not dig a hole that is bigger than the measurement that you got as doing so will only make the birdbath wobble.
Step 2 – Start digging
If you already found the perfect spot for your new birdbath, place a mark on your yard for the center of the hole you will need to dig. If you need to dig into a grass lawn, you can mark it easily using a bit of string that is as long as the radius of the bath’s base, some chalk, and a rather long nail.
Embed the nail into the center and tie one end of the string to it. After that, tie the chalk in the other. Proceed to draw a large circle on the grass. Now that you have a mark to follow, grab your shovel and proceed to dig a hole. The hole should be around 4 to 5 inches deep because you will be adding layers of gravel and concrete later.
Step 3 – Layer in the gravel
Tamp the soil at the bottom to compact it and make it as level as you can before adding the gravel. Then pour a layer of gravel around 1 to 2 inches thick and tamp it down as much as you can. Take a level and check if the surface is almost level.
You don’t need to make the surface completely level, but it would help if you can do that a little bit.
Step 4 – Place the concrete blocks
Once the gravel is laid down and compacted, it is time to place the concrete blocks on top of it. Carefully place each concrete block on top of the gravel, and press them down to keep them from wobbling. Check if the surface of the blocks is as level as possible. This is important because you will be placing the birdbath on these blocks.
Tamp on the concrete blocks to make sure that they have completely settled and not wobbling.
Step 5 – Place the birdbath on the blocks
Carefully position the birdbath on top of the concrete blocks. Take your level and check if the top of the birdbath is level. Also, check if the birdbath is wobbling. If it is, you should shim up the side that is wobbling with a couple of pebbles.
You can also test by filling the basin with water. If the water seems to be level, then you have done a good job.
Step 6 – Cover the concrete with more gravel
If you are satisfied with the way you have stabilized the birdbath, you can now cover the concrete with an inch or so of gravel. Make sure that you hide the concrete underneath the birdbath. This will make it look like it is just standing on top of the gravel.
Using Flagstone
With this technique, you will be using decorative flagstone as the top layer instead of gravel. This will make the birdbath look much better compared to regular gravel.
What to prepare:
- Gravel – Prepare just enough gravel to create a 2-inch layer in the hole you will be digging.
- Concrete blocks – You may need 1 or 2 pieces depending on the size of your birdbath.
- Flagstones – You should get enough flagstones to cover the top of the hole you are digging
- Shovel
- Work gloves
Detailed steps:
Do steps 1 to 5 of the gravel method. After that, you can move on to the final step.
Step 6 – Lay down the flagstone around the base
Instead of shoveling more gravel on top of the concrete blocks, you should lay down decorative flagstones. This is somewhat better than using gravel as the flagstones provide more grip and should hold the birdbath more securely.
This method of stabilizing birdbaths is good because the gravel provides better drainage than just regular soil. In addition, if the gravel settles unevenly after a couple of years, you can add more of it underneath the birdbath and it should be good to go again.
Conclusion
Having a crooked birdbath can ruin the entire look of your garden, but it is something that you can fix easily. Now that you learned how to stabilize a birdbath, the only thing left for you to do is start working. Don’t worry. The methods provided above are quite easy and you do not need any specialized tools or skills.
Hopefully, after everything has been said and done, you are now looking at a perfectly level and stable birdbath.


